Mastering Your Setup: The Trezor.io/Start Guide
Your essential walkthrough for initializing your Trezor hardware wallet, ensuring maximum security from the first connection.
Step 1: Unboxing and Initial Connection
Before proceeding to Trezor.io/Start, the physical check of your device is a critical security measure. When you receive your Trezor Model One or Model T, immediately inspect the packaging. Look for the genuine anti-tamper seal (holographic sticker for Model One, or a unique ultrasonic seal for Model T). If the seal is compromised, do not proceed; contact Trezor support immediately. This physical barrier ensures that no malicious party has tampered with the device before it reached you.
Once verified, connect your Trezor to your computer using the supplied USB cable. The device screen should light up, typically displaying a padlock icon. At this point, your device contains no firmware, which is normal and essential for verifying authenticity through the official Trezor interface. Now you are ready to navigate to the official setup address.
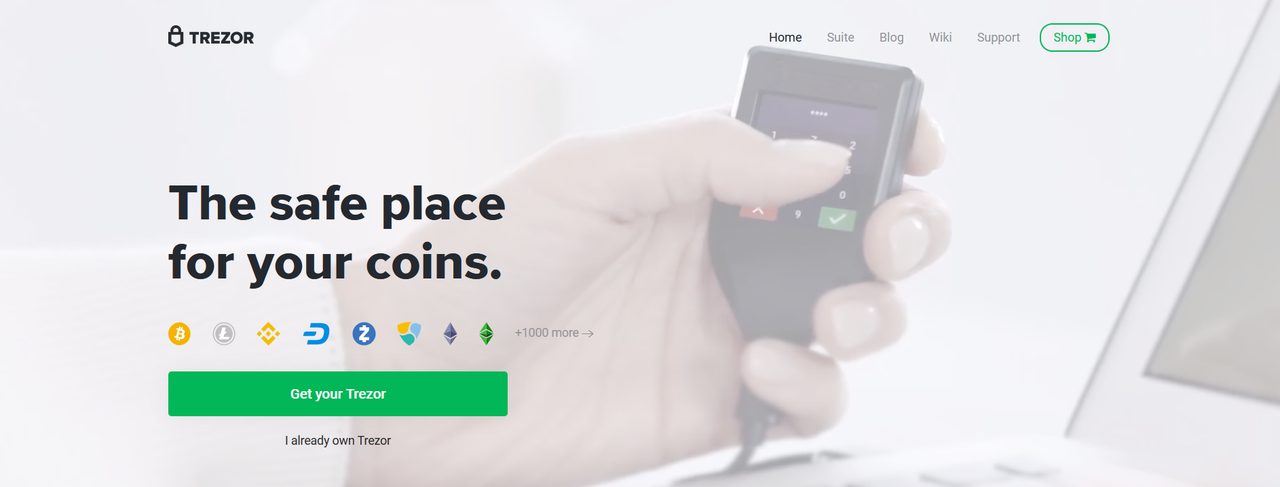
Step 2: Accessing Trezor.io/Start and Firmware Installation
Navigating to **Trezor.io/Start** automatically redirects you to the latest version of the Trezor Suite (the official desktop application or web wallet interface). It is crucial to always use this official entry point to guard against phishing sites. The interface will immediately detect your connected device and prompt you to install the official firmware.
Why Firmware is Essential: Firmware is the operating system of your Trezor. Installing it ensures your device is running the latest, verified code. When you confirm the installation, the Trezor Suite verifies the cryptographic signature of the firmware. This verification confirms that the code comes directly from SatoshiLabs (Trezor's creator) and has not been altered. If the signatures do not match, the Suite will issue a warning, preventing you from installing compromised software. This step is the first major digital security check in the setup process.
After successful installation, the device will restart and display a unique image or logo. You will then be prompted to create a new wallet.
Step 3: Generating and Backing Up the Recovery Seed
This is the most critical part of the entire setup process. When you select "Create New Wallet," the Trezor device internally generates a unique, random string of 12 or 24 words, known as the **Recovery Seed** (or mnemonic phrase). This seed is the ultimate backup—it's the only key capable of restoring access to your crypto funds if your physical Trezor device is lost, stolen, or damaged.
The words will be displayed on the device's screen, and you must write them down precisely on the provided Recovery Seed cards.
- Rule 1: Write it down **only** offline. Never take a photograph or store the seed on any digital device (computer, phone, cloud, or password manager).
- Rule 2: Verify the words multiple times. A single misspelling can render your recovery useless.
- Rule 3: Store the cards securely in a fireproof safe, vault, or another private, highly secured location.
Once you have confirmed the writing process, Trezor Suite will perform a verification test, prompting you to enter a few of the words to ensure accuracy. This is the moment when the system verifies that you, and only you, hold the master key to your digital assets.
Step 4: Establishing Your Device PIN
After the seed phrase is secured, the next requirement is setting a Personal Identification Number (PIN). The PIN serves as a physical access lock for your device, protecting your funds in case the Trezor is misplaced or briefly stolen. It is required every time you connect the device to a computer.
Trezor employs a unique, highly secure method for PIN entry: the scrambled keypad. A random 3x3 grid of numbers appears on your computer screen. The Trezor device screen, however, only shows a blank grid. When you enter the PIN on the computer, you click the *position* of the number shown on the Trezor screen, not the number itself. Since the layout is scrambled every time, a keystroke logger on your computer cannot record the actual PIN, only the sequence of clicks, making it resistant to remote attacks. Choose a strong PIN of 6 to 9 digits.
Step 5: Naming and Optional Passphrase (25th Word)
To complete the setup, you will name your device (e.g., "MyTrezor-Home"). This label is stored in the Trezor Suite software to easily identify your wallets, especially if you own multiple devices.
The final, optional, but highly recommended security layer is the **Passphrase** (sometimes called the 25th word). If you enable this feature, a unique, user-chosen passphrase is required *in addition* to your physical device and PIN to access your funds. This feature provides plausible deniability: even if an attacker gains access to your seed phrase and physical Trezor, they cannot access your primary funds without knowing this extra word. Because the passphrase is never written down with the seed, it provides the ultimate separation of concerns.
By completing all five steps at Trezor.io/Start and adhering to best practices for seed storage and PIN/Passphrase creation, your Trezor is now initialized and ready to securely manage your digital assets.